🎯Too Long; Didn’t Read
Ditch the frantic airport scramble. Handle these things before you reach the terminal. It’s simpler, cheaper, and saves you the headache.
- Confirm Your Flight Status: About an hour before you leave, verify the departure time and gate. If you see a major delay, call the airline to sort a new flight. If it’s on schedule, just go. No drama.
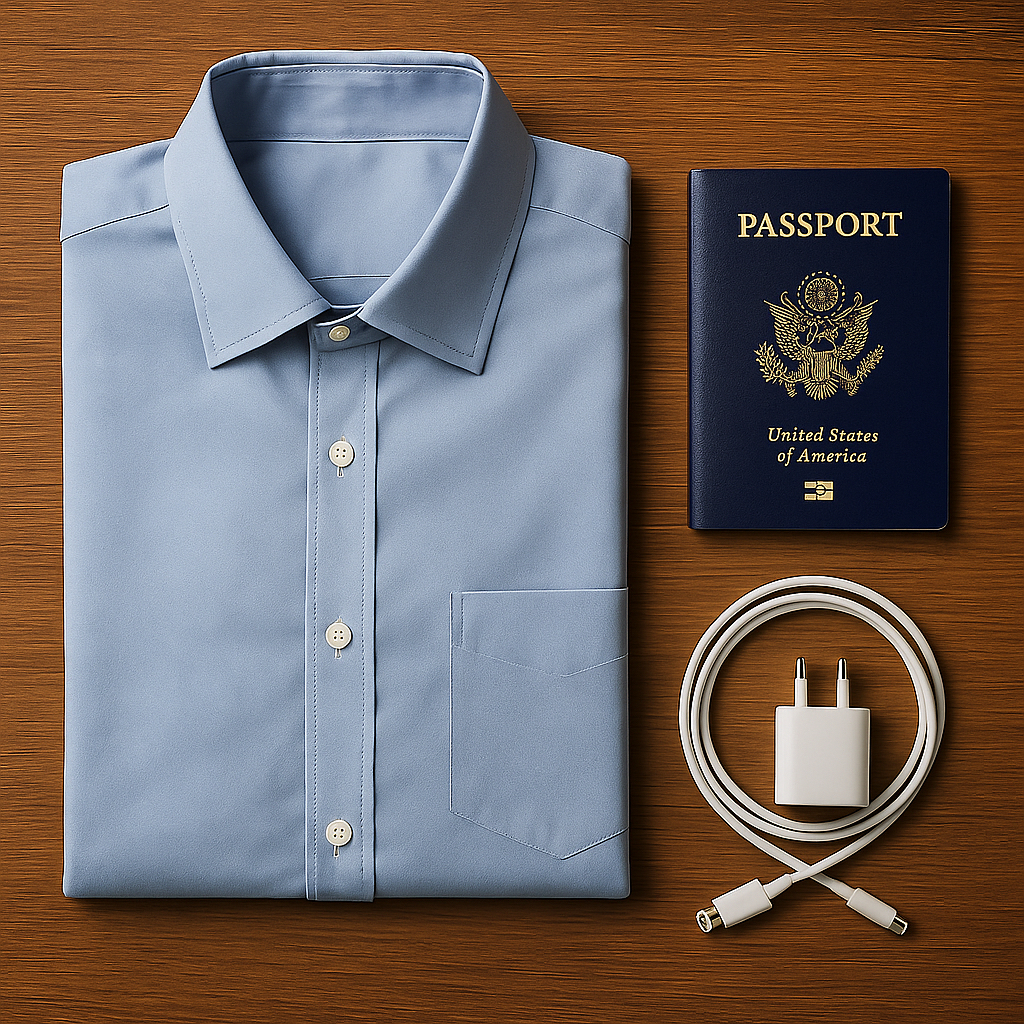
- Organize Documents and Bags: Have your ID and boarding pass within easy reach. Check your passport’s expiration date way in advance—many places require a six-month validity window. Weigh your checked bags to avoid fee shock. For security, prep your liquids and electronics so you can yank them out fast.
- Know Your Spot and Use Time: Confirm your terminal and check-in type: is it a simple bag drop or full service? This prevents a last-minute dash. Also, eat and use the restroom before clearing security. You’ll save money and bypass the lines.
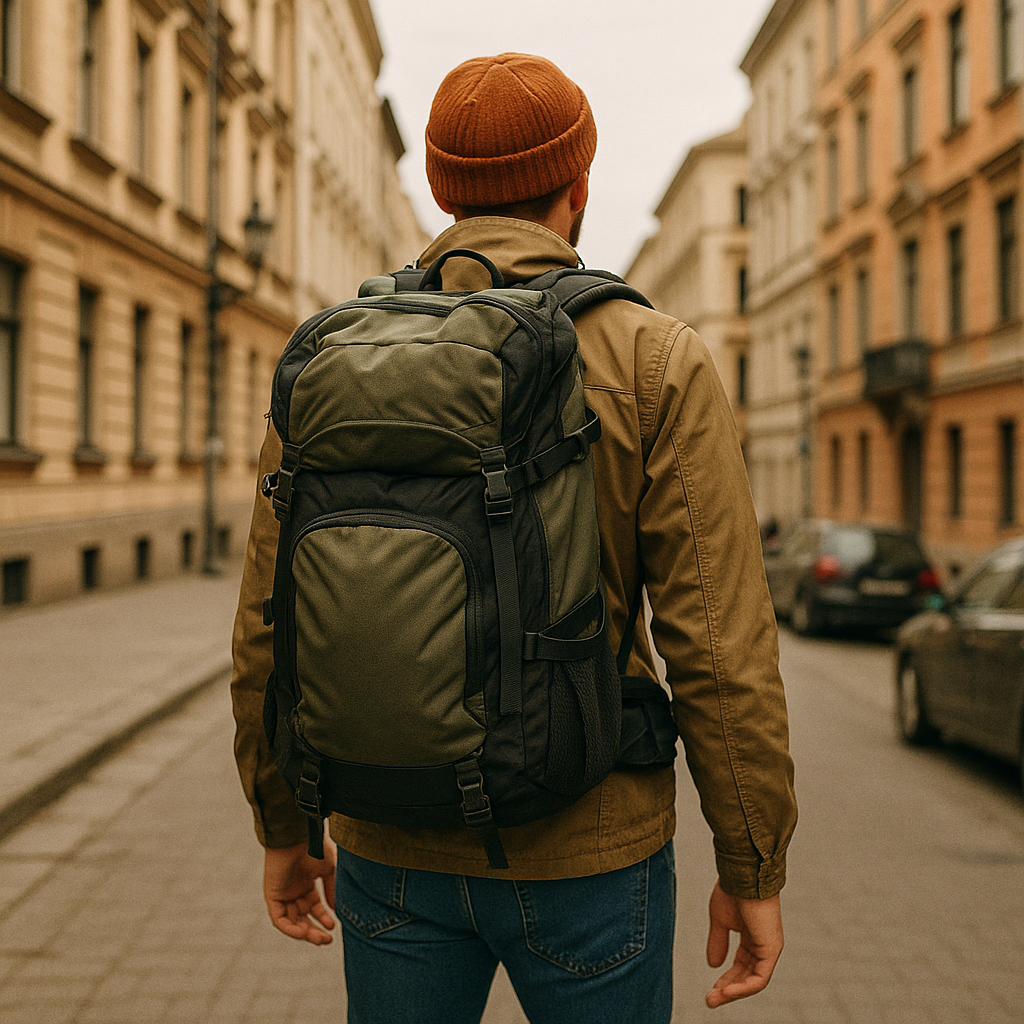
- Guard Your Gear: Protect your things from pickpockets. Use front pockets or bags with secure zippers. Take photos of critical documents as a backup.
A final, two-minute scan of this list before you enter the building prevents major hassles down the line.
Got your ticket? Bags packed? But once you’re at the airport, don’t just sprint to check-in. Handle a few tasks first. This prep cuts down on journey hassles and dodges those last-minute scrambles that spark travel chaos.
Check Your Flight Status Before You Leave Home
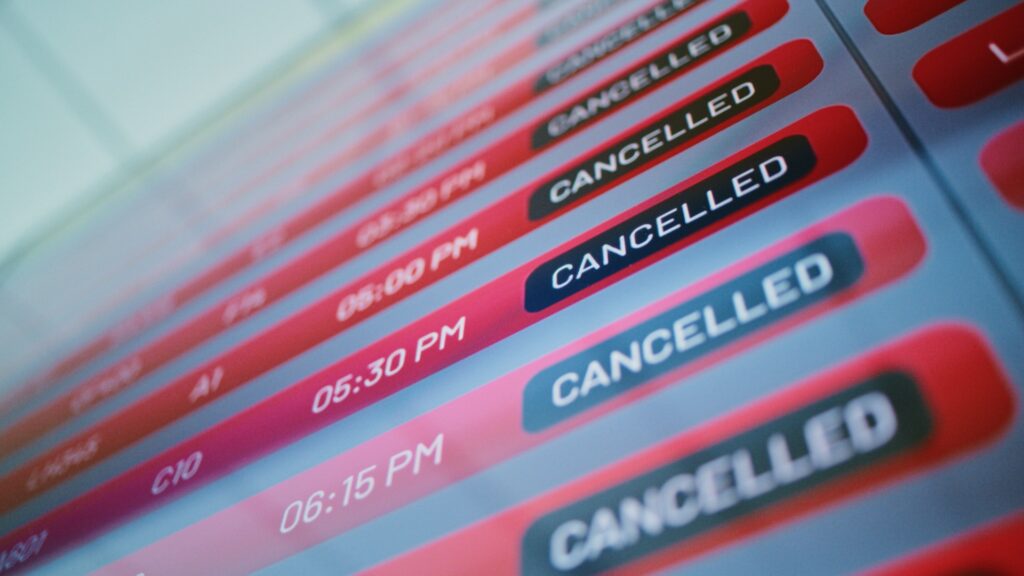
Booking a flight months out means nothing for its status today. Schedules shift. Life happens—weather, mechanical problems.
About an hour before you leave, glance at the airline’s app. Check the actual departure time and the gate. Look for alerts. Flights can actually depart early, particularly the first one of the morning. Or you might see a massive delay posted. That intel changes everything.
A major delay? Call the airline directly. This move can get you on a different flight. At a minimum, you’ll know if you need to sprint or can finally get that coffee.
Organize Your Documents While You’re Still Outside
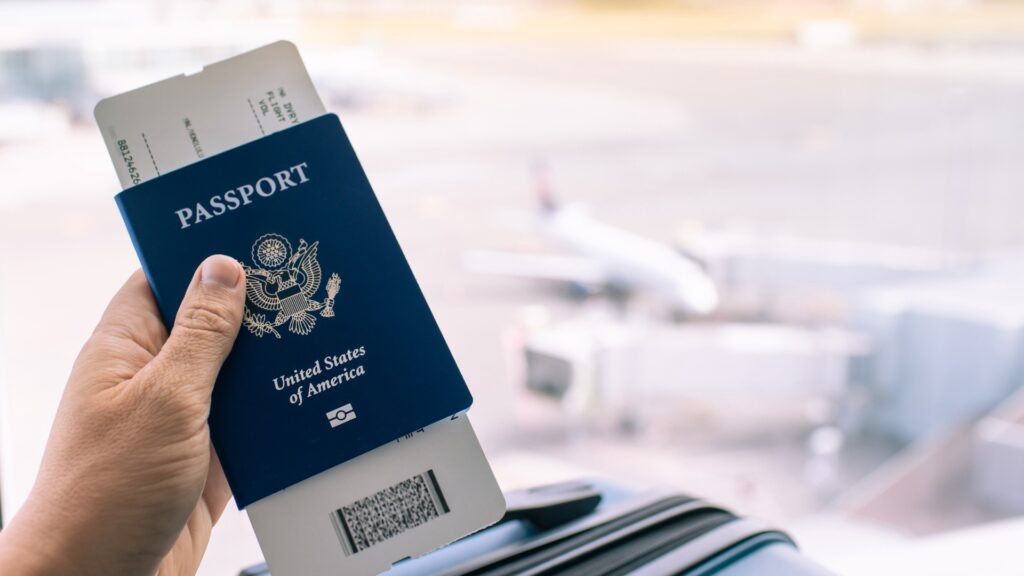
- Grab your passport or ID first. Your boarding pass—digital is fine, printed works too. Then your credit cards and any required visas. Have them ready.
- Now, stash all of it in a pocket or bag section you can reach easily. Don’t let it get buried under a mess of snacks and tangled charger cables. You’ll be pulling these items out repeatedly, starting the second you approach the terminal.
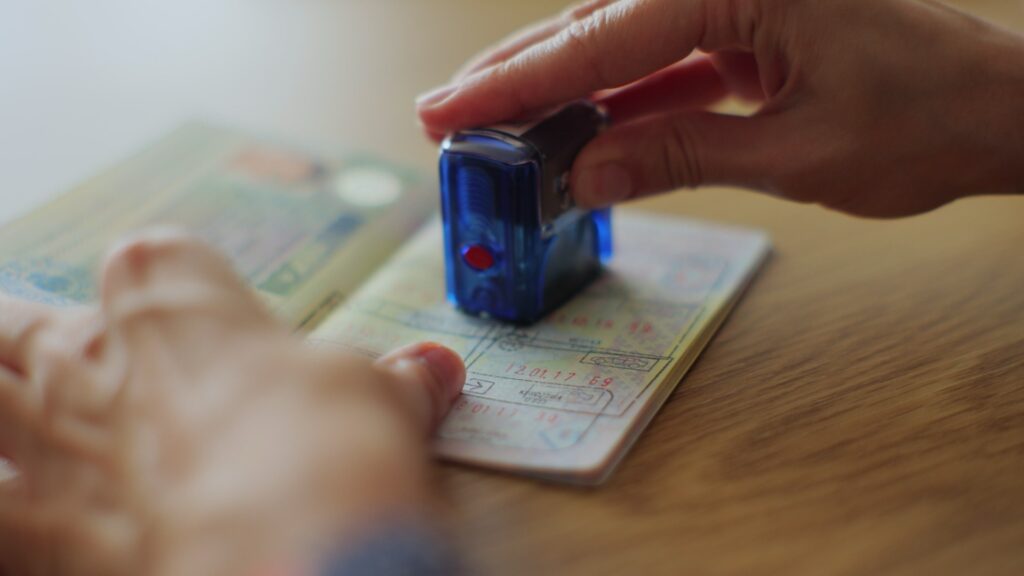
- One more critical thing: check your passport’s expiration date. Don’t put it off. Many countries demand it be valid for another six months after your trip ends. Discovering this rule applies to you at the check-in counter is a nightmare scenario. That’s not the time to find out you’re grounded.
Do a Luggage Reality Check
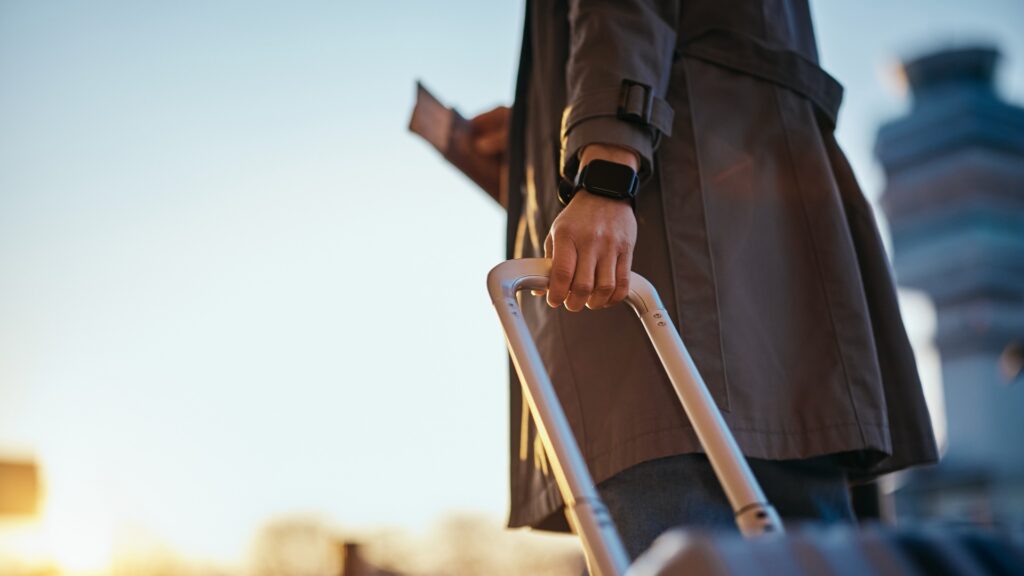
Airline weight limits aren’t suggestions—they’re enforced. Checked bags have a max: 50 pounds for domestic routes, 23 kilograms internationally. Go over, and fees hit—anywhere from $50 to $200. The cost depends on your airline and how much you’ve packed beyond the limit.
Got a luggage scale at home? Weigh your bag before you leave. Already at the airport and stressing? Some terminals have scales available before check-in. Skip that step, and you’re stuck doing the shuffle of shame at the counter—publicly rearranging your stuff between bags while the queue watches.
Carry-On Considerations
Most airlines let you bring one carry-on plus a single personal item. That means your backpack, purse, or laptop bag qualifies as the personal one. The roller bag? Toss it overhead.
Liquids must squeeze into a clear quart-sized bag—each container capped at 3.4 ounces. You’ve seen this rule a million times, yet people still roll up with full shampoo bottles. Seriously, avoid that move.
Get that liquids bag out and stow it where you can snag it quick. Same goes for your laptop and any tablets. Security will demand these separately. If you’re digging through your stuff while a queue stacks up behind you, it grinds the whole process to a halt.
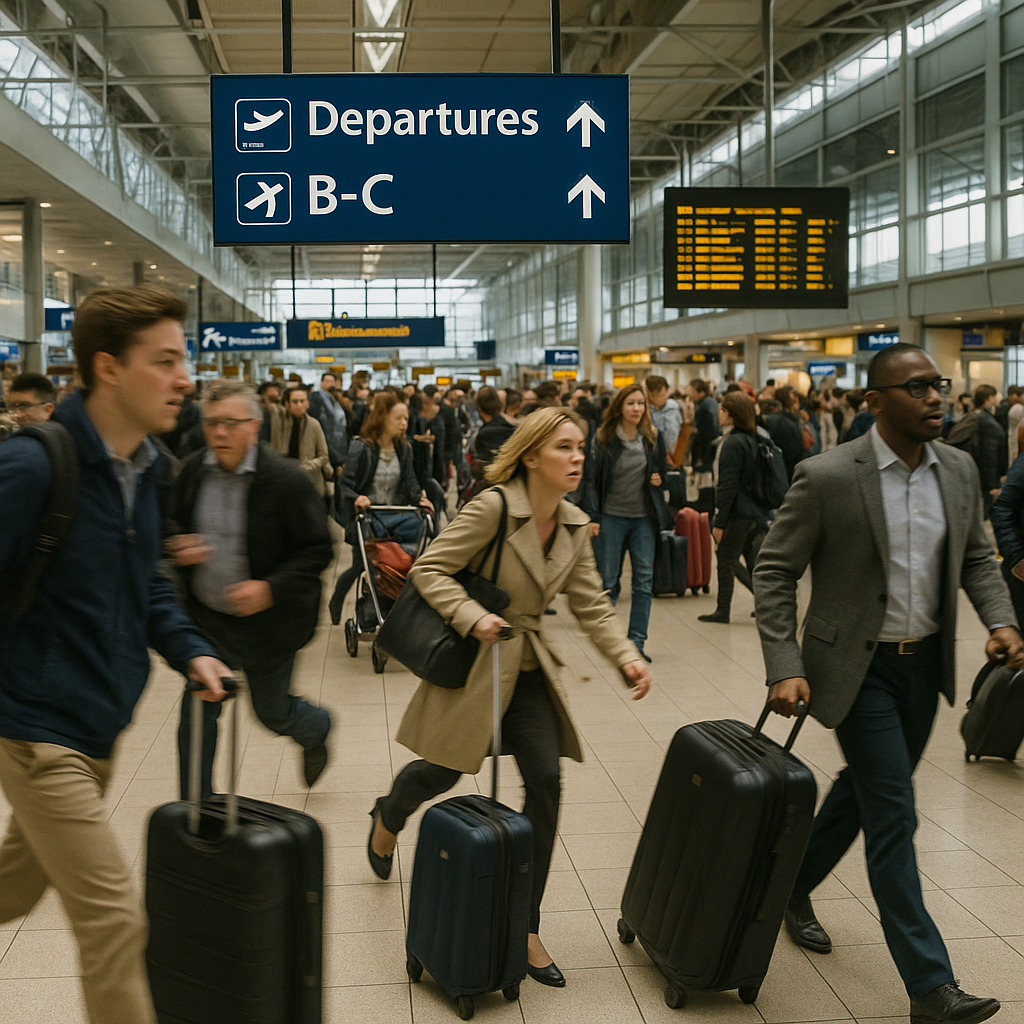
Find Your Terminal and Check-In Location
Airports often split operations across multiple terminals. Your flight might depart from one for domestic travel, another for international—your airline decides. That confirmation email has the terminal info, but don’t just trust it blindly. Verify before you’re dropped off or park. A wrong terminal means a frantic shuttle bus ride.
Check-in isn’t one-size-fits-all. Airlines frequently use separate zones: one for economy, another for international, first, or business class. Premium passengers head to their dedicated section. Scan for overhead signs or pull up the airport map on your phone.
If you’re already set with a boarding pass and just have luggage, find the bag drop. These dedicated spots are much faster than the full-service counters. Using them shaves off a solid 15 minutes.
Handle Food and Drinks Situation
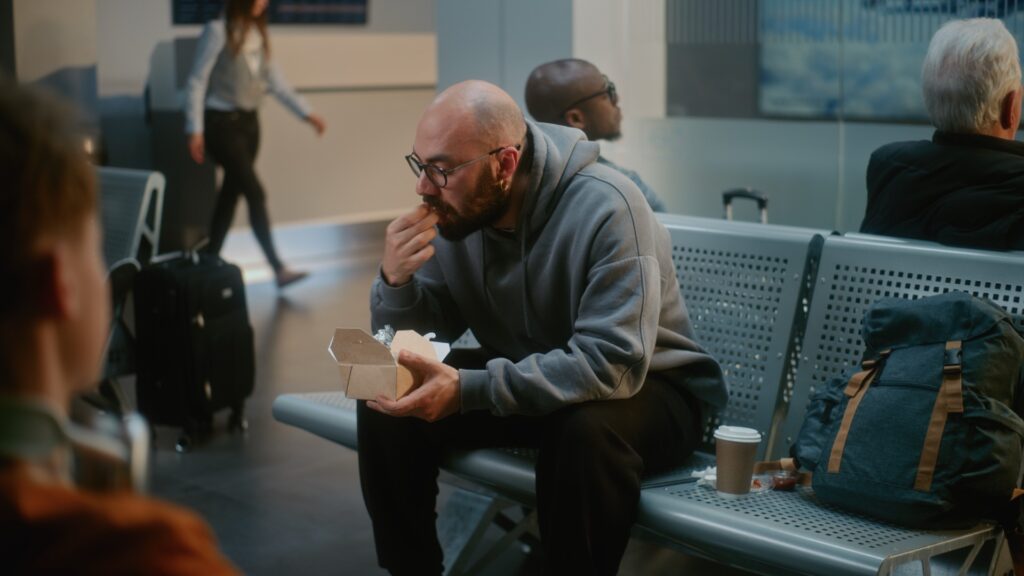
Airport food? A straight-up racket. That eight-dollar water hits hard—makes you side-eye the whole economic setup. A fifteen-dollar sandwich? Mid, at best.
Eat before security. Seriously. Lots of airports have cheaper joints outside the checkpoints. Normal prices, no gouging. You can’t take liquids through, but solid food? Fair game. Pack your own snacks if you’re watching cash or have dietary needs. Nobody’s grabbing your granola bars.
Bring an empty water bottle. Fill it after security. Most spots have bottle-filling stations now. Free water? Way better than forking over cash for pricey plastic.
Use the Restroom Before Security
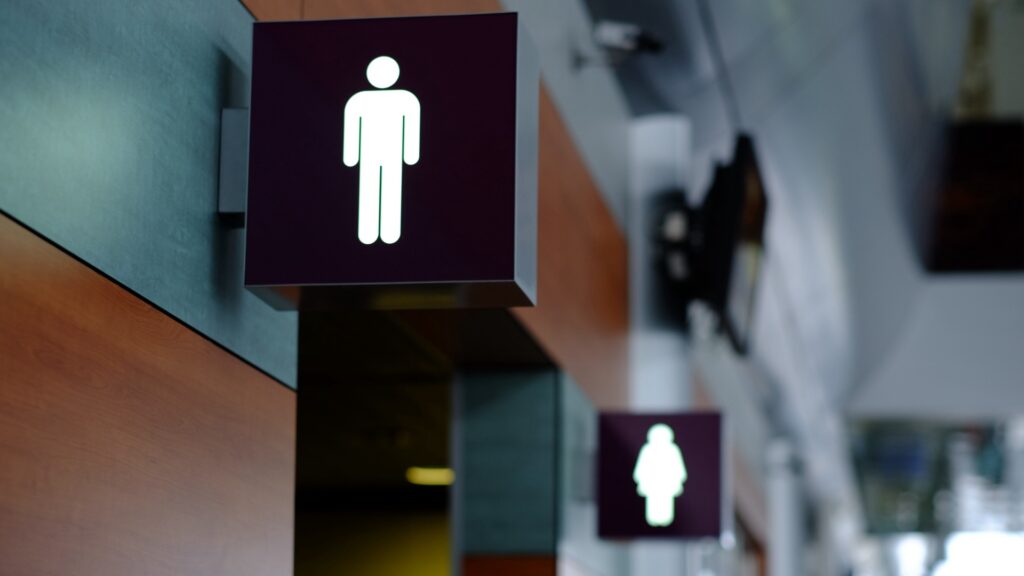
Security waits? Totally inconsistent. You might dash through in five minutes flat. Or you could be stuck there for forty-five. Once you’re in that queue, you’re locked in—no escaping.
Hit the bathroom before joining the line. Sure, there are restrooms past security, but why risk a hold-up? Take care of it now.
Protect Your Valuables
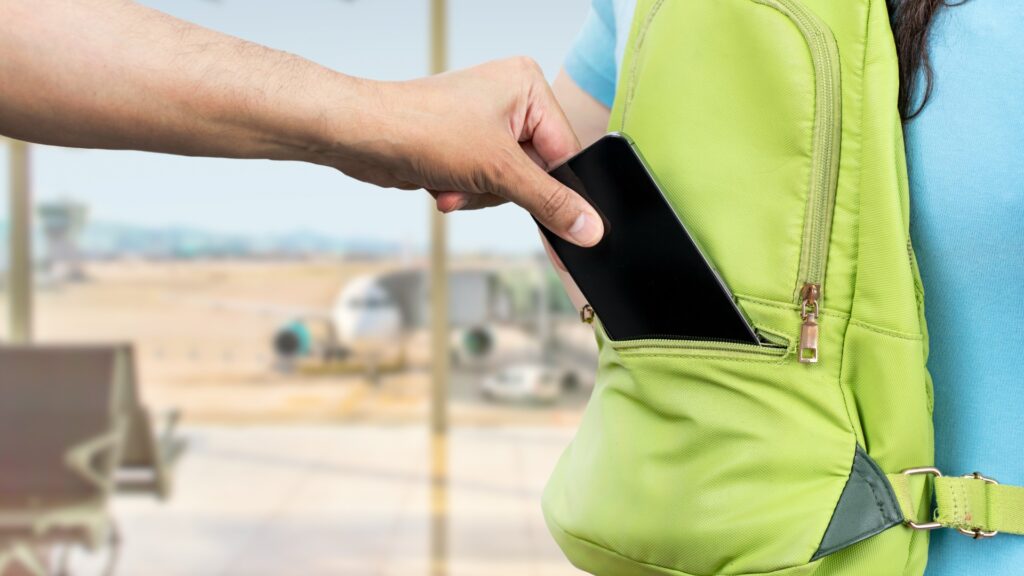
Before you enter the terminal, secure your stuff. Move your wallet to a front pocket—back pockets are practically an invitation. Keep your purse zipped tight and worn crossbody; a loose shoulder bag is an easy grab. Stash your phone somewhere you’d notice it missing.
Airports are all hustle and bustle, ideal for thieves hunting distracted travelers. Stay aware. A phone left unattended on a counter is a sitting duck.
Snap pictures or jot down the essentials: passport digits, credit card details, airline codes. Store these separately from the physical documents. If anything vanishes, you’ll have the specifics on hand to report the loss and cancel cards faster.
Final Check Before Entering
Stand off to the side, not blocking traffic, and do one last verification:
- Flight information confirmed
- Documents accessible
- Bags within weight limits
- Liquids packed properly
- Electronics ready to remove
- Nothing prohibited in carry-on
- Parking details recorded
- Meeting points established
- Enough time to make your flight
This takes two minutes. Two minutes now prevents 20 minutes of stress at check-in or security.
❓FAQ❓
Can I check in online to save more time at the airport?
Sure. Most airlines open online check-in 24 hours before departure. No checked bags? Then you can completely avoid the counter.
What should I do if I have overweight baggage at the airport?
Weigh your luggage before you leave. If it’s over the limit, you’ll face repacking right there or paying a fee. Check it at home to dodge the stress.
Are there special check-in counters for business or first-class passengers?
Yes. Those travelers access separate check-in zones. They bypass the main lines, making the whole thing quicker.
What travel documents besides passport and boarding pass should I carry?
Depends on your destination. You could need visas, locator forms, or other entry paperwork. Always confirm with official sources before flying.
Can I take liquids through security if I pack them correctly?
Liquids must be in containers under 3.4 ounces (100 ml). Then, place them all in a single, clear quart-sized bag for inspection.